Dense Crumb: The Underproofing Problem
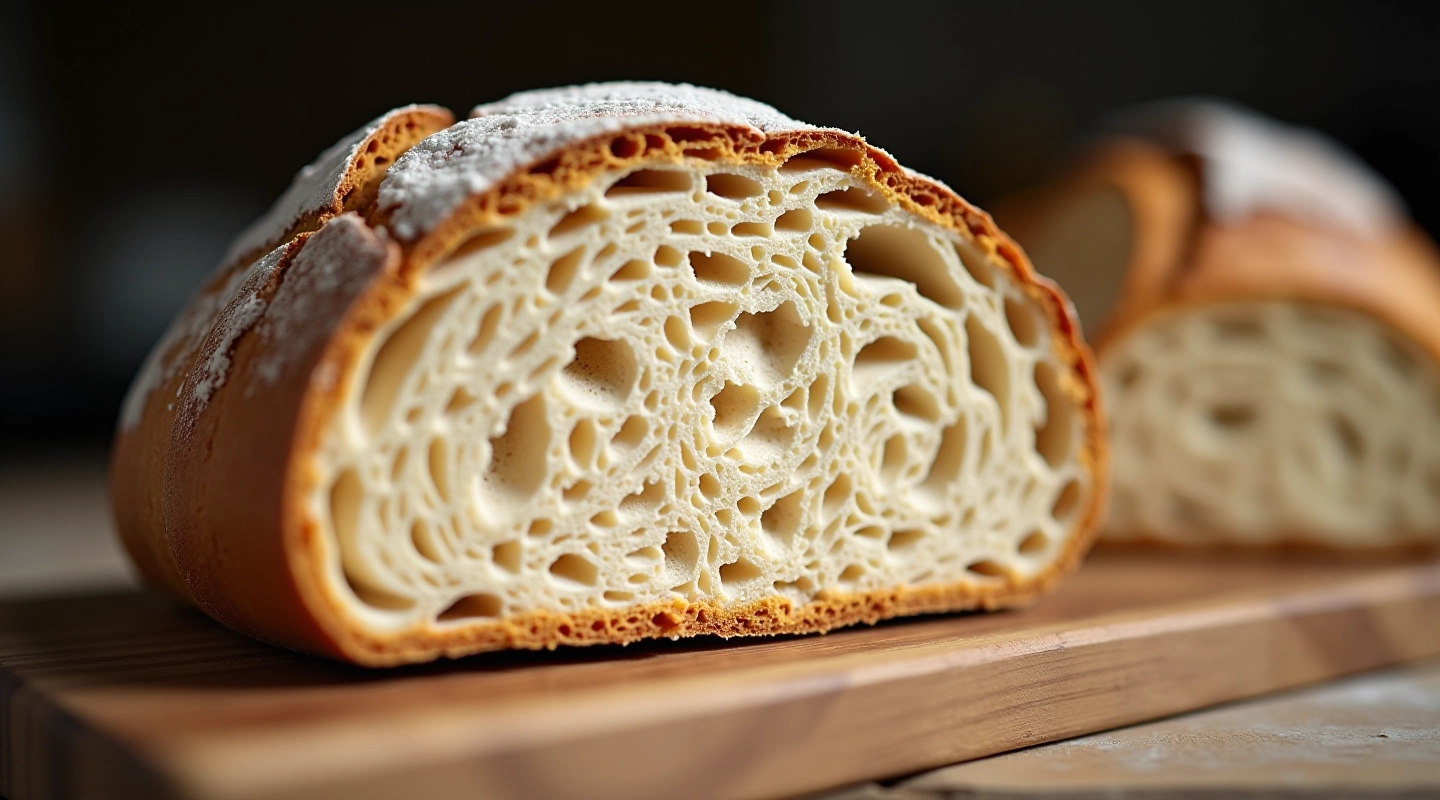
A dense loaf means your dough didn't have enough time to develop gas and rise properly. You're probably stopping fermentation too early. Here's the thing — timing isn't about a clock. It's about what your dough is telling you.
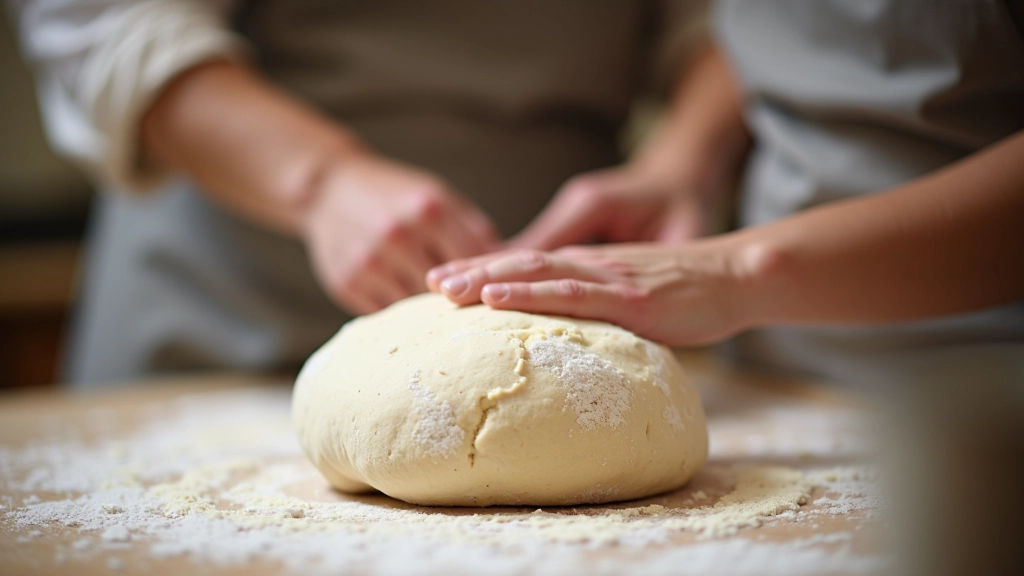
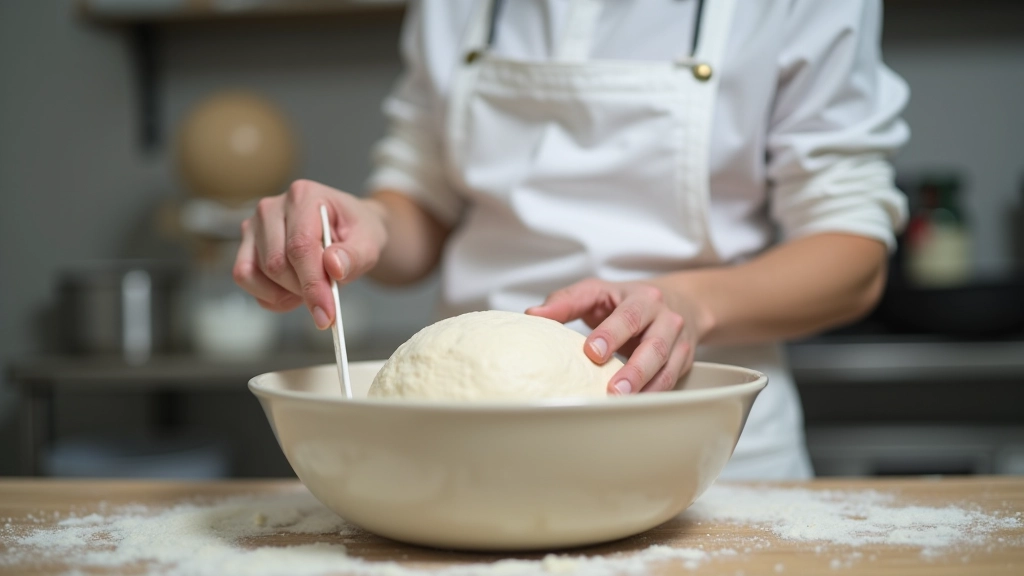
When you do the poke test, your finger should leave an indentation that springs back slowly. Not completely — that's underproofed. Not at all — that's overproofed. You want something in between. Most bakers rush this step. Bulk fermentation at room temperature takes 4-6 hours, sometimes longer in winter. Final proof in the fridge? That's 12-18 hours minimum, though you can go longer.
Quick Fix: Extend your bulk fermentation by 1-2 hours. Do the poke test. If it springs back completely, you need more time. If it springs back halfway, you're close.
Temperature Changes Everything
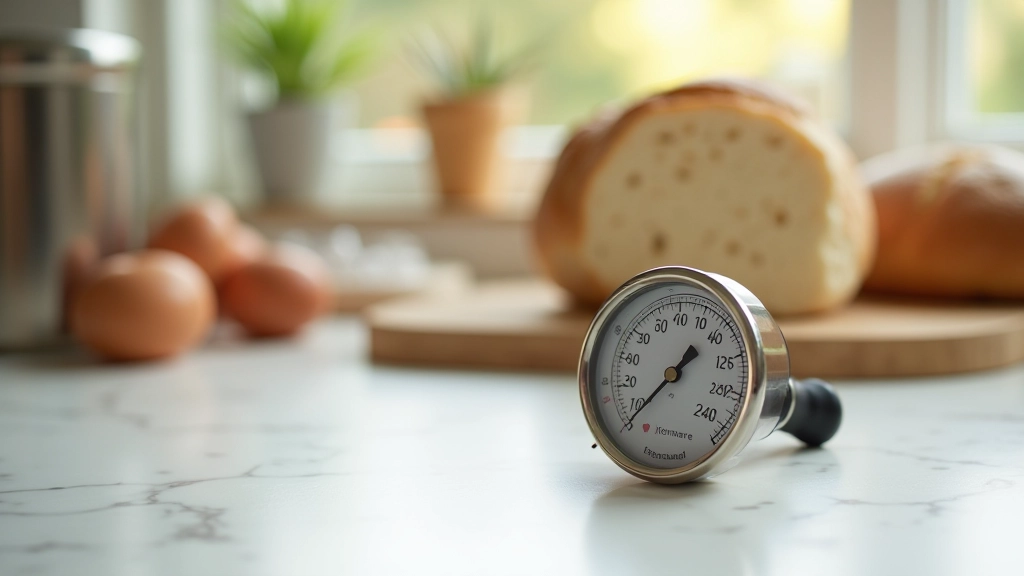
Temperature directly controls fermentation speed. A cold kitchen (60-65°F) will take 6-8 hours for bulk fermentation. A warm kitchen (72-76°F) might only need 4-5 hours. This is why your loaf turned out dense last week but perfect this week — you probably changed nothing except the season.
Winter bakers often struggle because they're working in cooler conditions. Don't panic. You can proof in a turned-off oven with the light on. Or use a proofing box if you're serious. The key is consistency. Pick a temperature and stick with it. Your schedule will adjust to match.
Cold fermentation in the fridge actually improves flavor. Don't rush the final proof. 16-18 hours cold is better than 12 hours. It gives your gluten time to fully develop and your starter time to work properly.
Note: These troubleshooting guidelines are based on common sourdough practices and observations. Baking conditions vary significantly by climate, ingredients, and equipment. Experiment with small adjustments to find what works in your specific kitchen. If problems persist, consider the quality of your starter and the type of flour you're using — both dramatically affect outcomes.
Gummy Interior: Underbaked or Too Wet
A gummy crumb usually means one of two things. Either your loaf didn't bake long enough, or your dough hydration is too high for your skill level. Start with baking time — it's the easier fix.
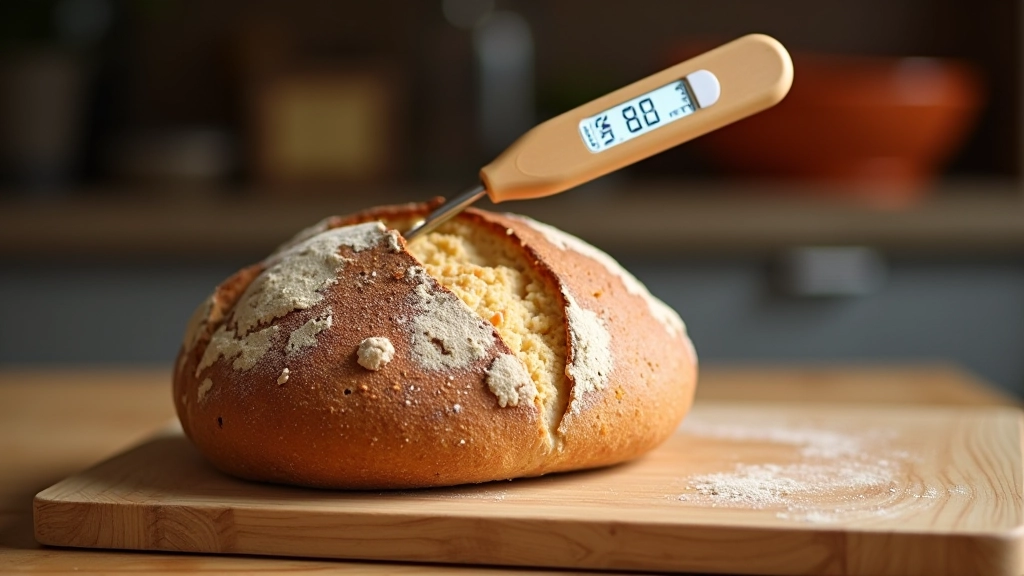
Most home bakers underbake their sourdough. Your loaf should bake for 40-50 minutes total (20 minutes covered with Dutch oven, 20-30 uncovered). The internal temperature should reach 205-210°F. Get an instant-read thermometer. It's the only reliable way to know you're done.
If baking time isn't the issue, your hydration might be too high. Start at 75% hydration (that means for every 1000g flour, add 750g water). You can increase it later once you're comfortable handling wet dough. Higher hydration needs better technique and more confidence in your stretch-and-folds.
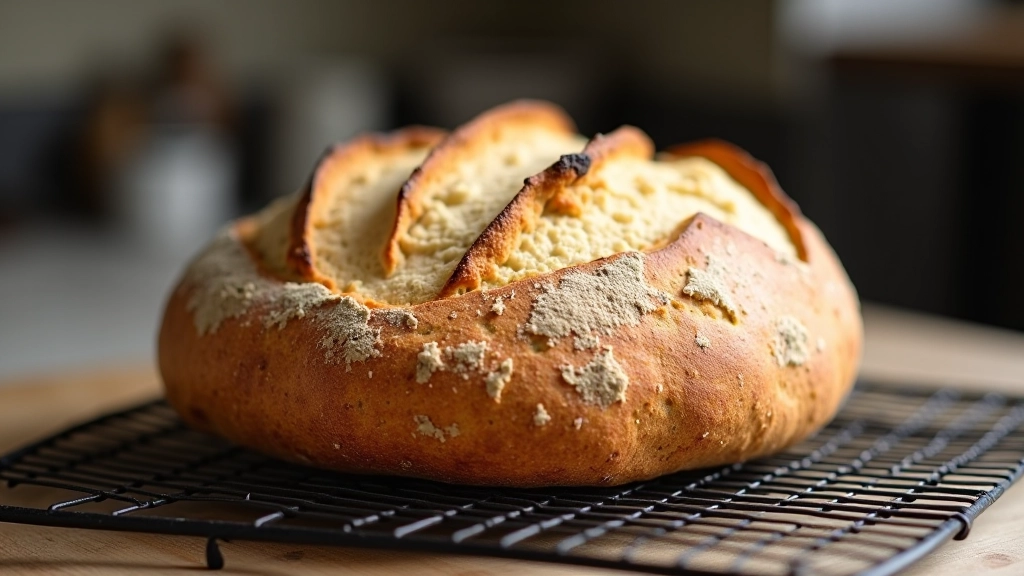
Flat Loaves: Overproofing or Weak Gluten
When your loaf barely rises in the oven, you're dealing with overproofing. Your dough ran out of gas before baking even started. The structure was there, but it got too relaxed. This happens when bulk fermentation goes too long or final proof is excessive.
The poke test is your guide. If your dough doesn't spring back at all when you poke it, you've gone too far. Shape immediately and get it in the oven. Don't wait for it to proof more.
Sometimes flat loaves come from weak gluten development. You need to do stretch-and-folds during bulk fermentation. Every 30 minutes for the first 2 hours, do a set of four folds. Pull the dough up from one side and fold it over itself. Rotate and repeat. This builds strength without additional kneading. After 2 hours of stretching, let it rest for the remaining fermentation time.
Key Adjustments for Flat Loaves
- Reduce bulk fermentation time by 30 minutes to 1 hour
- Add 4 sets of stretch-and-folds during first 2 hours
- Use the poke test — shape when it springs back halfway
- Score deeper to encourage oven spring
Putting It All Together: Your Troubleshooting Map
Dense Crumb
Cause: Underproofing
Fix: Extend bulk fermentation 1-2 hours. Check temperature — is your kitchen warm enough?
Gummy Interior
Cause: Underbaked or too wet
Fix: Bake to 205-210°F internal temp. Reduce hydration to 75% if dough feels uncontrollable.
Flat Loaf
Cause: Overproofing or weak gluten
Fix: Add stretch-and-folds. Reduce bulk time. Shape when poke test springs back halfway.
Next Steps: Making Progress
Here's what we recommend. Pick one variable to adjust this week. Don't change everything at once. If your loaf was dense, extend fermentation by 2 hours. If it was gummy, bake it 5 minutes longer. If it was flat, add stretch-and-folds.
Write down what you did and what happened. Seriously — keep notes. After three or four bakes, patterns will emerge. You'll start to see your kitchen's rhythm. Temperature, humidity, your starter's strength — all of it matters. And once you understand your environment, you've got this.
Want to accelerate your learning? Our weekend workshops walk you through these exact scenarios in real time. You'll see how we troubleshoot, ask questions, and get immediate feedback. No guessing. Just hands-on learning from people who've made every mistake in the book.