
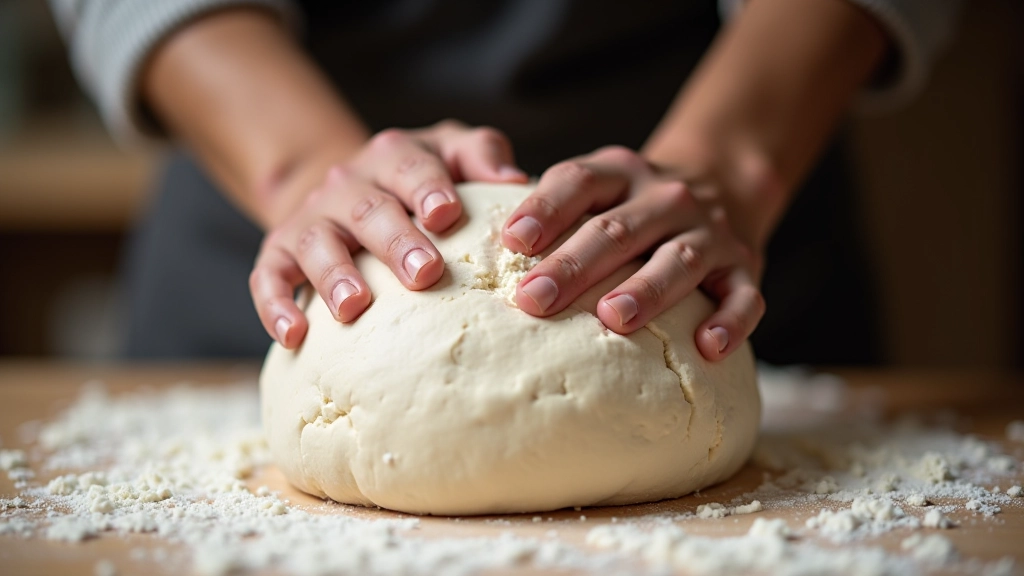
Loaf Shaping Techniques That Actually Work
Common shaping mistakes and how to fix them. Learn tension, scoring, and the difference between tight and loose shaping.
Read MoreA practical week-by-week guide to creating an active starter from just flour and water
By
Editorial Team
Written by the Kenmare Sourdough Editorial Team, focused on clear, practical guidance for sourdough bakers of all levels.
A sourdough starter isn't some mysterious magic. It's a living culture of wild yeast and bacteria that you're feeding regularly. Think of it like maintaining a pet — except this pet helps you bake incredible bread.
You'll start with just two ingredients: flour and water. Over about seven days, you're going to see it transform. Bubbles appear. Smells develop. By day seven, you've got something active enough to leaven bread. It's honestly one of the coolest kitchen experiments you can do.
The starter sits on your counter at room temperature. You feed it twice a day for the first week, then once daily after that. It doesn't require special equipment or precision scales. Just consistent attention and patience.
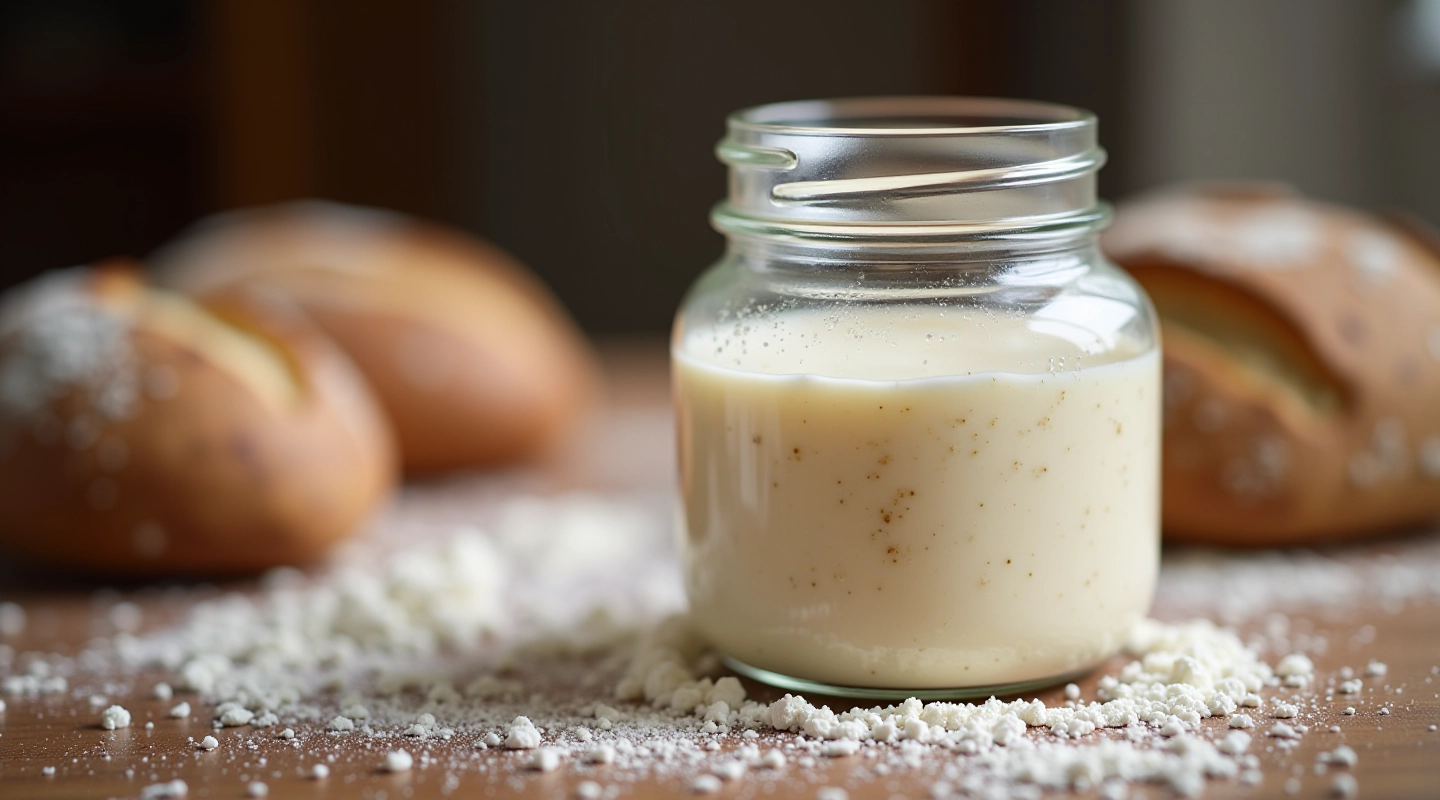
Start with 50g flour and 50g water in a clean jar. Mix thoroughly until there's no dry flour. It'll look like thick paste. Cover loosely with cloth or paper towel — you want air circulation but not dust getting in.
Nothing obvious happens the first couple days. That's normal. The wild microbes are waking up and establishing themselves. You might see a few tiny bubbles by day two, but don't get excited yet. This is just the beginning.
On day two and three, feed it the same way: discard half the mixture (about 50g) and add 50g fresh flour plus 50g water. Stir well. The discard you're throwing away? You can actually use it for crackers or other recipes, so don't waste it.
Important Note: This guide is educational and focuses on common techniques used in artisan baking. Individual results vary based on flour type, water quality, and room temperature. For specific troubleshooting, consult our Troubleshooting Dense, Gummy, or Flat Loaves guide or attend one of our weekend workshops in Kenmare where we cover starter maintenance in detail.

Around day four, you'll notice real activity. Bubbles rise to the surface. You might see a layer of foam. The smell changes too — less flour-like, more fermented and slightly sour. This is the good stuff happening.
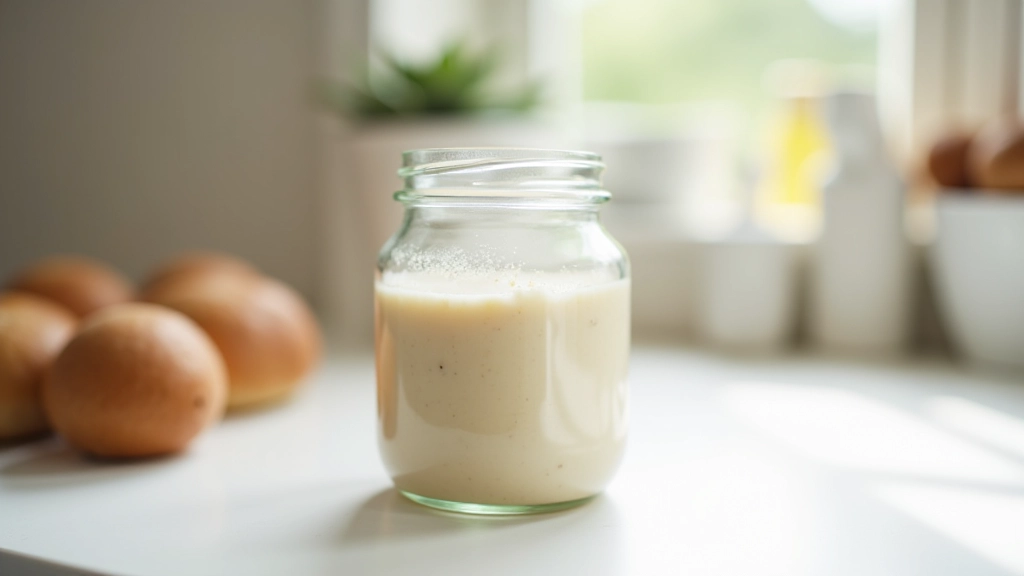
Keep feeding twice daily: discard half, add 50g flour and 50g water. The jar's going to feel more alive now. It'll rise between feedings and then collapse a bit. This cycle is exactly what you want to see.
Some people see a layer of brown liquid on top — that's called hooch. It's perfectly fine. You can stir it back in or pour it off, your choice. It won't hurt anything either way.
By day five, you've probably got something that looks and smells like a real starter. Bubbly, active, with that characteristic sour smell. Don't rush though. One more day of feeding builds strength.
By day six, your starter's consistently active. It rises predictably after each feeding. The smell is definitely sour and fermented now. This is your sign it's nearly ready for baking.
Keep the twice-daily feeding schedule through day seven. Each feeding should see the starter rise within 4-8 hours, then fall back down. That rising and falling is the yeast doing its job. You're building a culture that's strong enough to leaven bread.
On day seven, after your morning feed, give it a few hours to rise. When it's puffy and bubbly at peak, you can try your first bake. It won't be perfect — that's okay. You're learning how your starter behaves in your specific kitchen with your flour and water.
Once you're baking, you'll move to once-daily feeding. Many bakers do this in the morning or evening — whatever fits your schedule. Feed it 50g discard out, 50g fresh flour, 50g water.
Store it on the counter if you're baking regularly, or in the fridge if you're baking once or twice a week. Refrigeration slows everything down. A cold starter takes longer to rise but it's much easier to maintain.
You'll develop a rhythm. Most people find a spot for their jar — next to the coffee maker, on a shelf above the stove, wherever. It becomes part of the kitchen routine.
Weekly Maintenance Checklist:
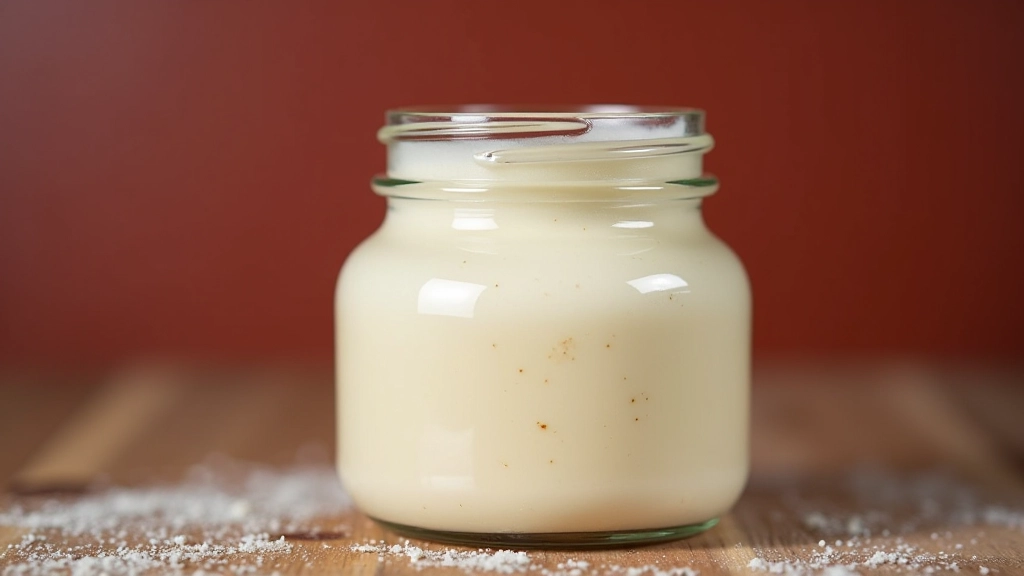
We've seen it all. People get impatient and try to bake on day three. Others forget to feed it and wonder why nothing's happening. Here's what actually matters:
Mistake 1: Wrong Temperature — Too cold (below 60°F) and everything moves slowly. Too hot (above 80°F) and fermentation gets unpredictable. Aim for 65-75°F. Most home kitchens hit this naturally.
Mistake 2: Inconsistent Feeding — You can't just feed it whenever you remember. The microbes need a rhythm. Even if you're in the fridge, they expect regular meals. Daily feeding works, even if you're only baking once a week.
Mistake 3: Using Chlorinated Water — Chlorine can slow fermentation. Filter your water or let it sit overnight before using. Most people don't notice a huge difference, but it's worth knowing.
Mistake 4: Wrong Flour Type — Whole wheat and rye starters develop faster than all-white flour. Nothing wrong with that, but all-white takes about 7-10 days. Be patient if you choose that route.
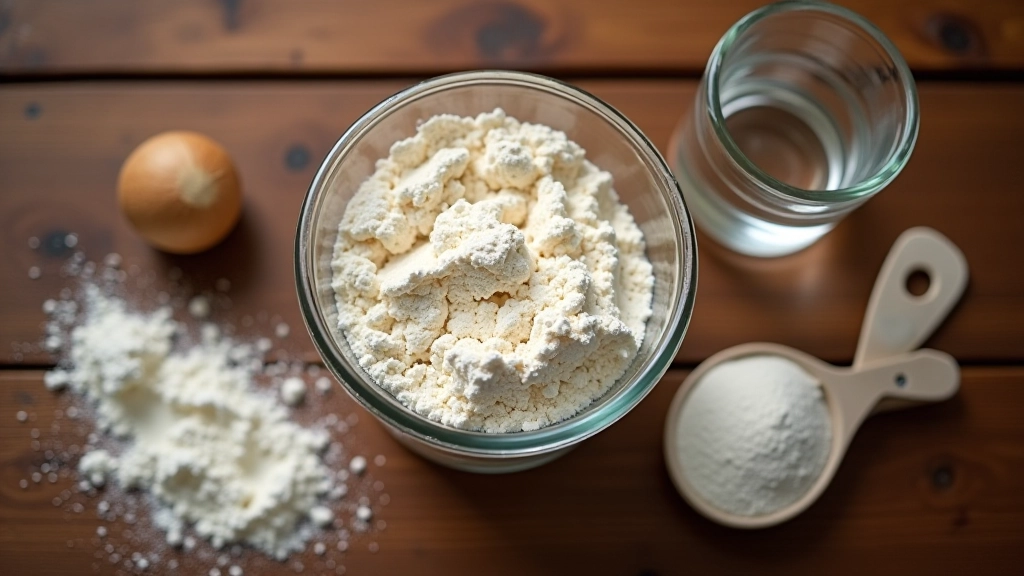
The equipment list is refreshingly simple. A clean jar — glass works best because you can see what's happening inside. Any size from 500ml to 1 liter is fine. You don't need special fermentation jars or airlocks or any of that.
You'll need flour (all-purpose works, bread flour is fine, even whole wheat) and water. That's it. A spoon for stirring. Maybe a scale if you're into precision, but honestly a rough 1:1:1 ratio by eye works fine for beginners.
Cover the jar loosely — cloth, paper towel, or even a loose lid. You want air in there. A sealed container won't work because the microbes need oxygen and gas needs to escape.
Building a starter takes patience, but honestly, it's one of the most rewarding parts of sourdough baking. You're creating something living that'll give you incredible bread for years to come. The first week is just the beginning.
Once your starter's established, the real fun begins. You'll learn how it behaves in different seasons, how it responds to different flours, and how to shape it into your baking routine. Every baker's starter is slightly different — yours will develop its own personality.
Want hands-on guidance? We run weekend workshops in Kenmare where you'll work with established starters and learn proper feeding schedules, baking techniques, and how to troubleshoot issues. It's one thing to read about it. It's different entirely to do it alongside experienced bakers.
Explore related guides to deepen your baking skills
Common shaping mistakes and how to fix them. Learn tension, scoring, and the difference between tight and loose shaping.
Read More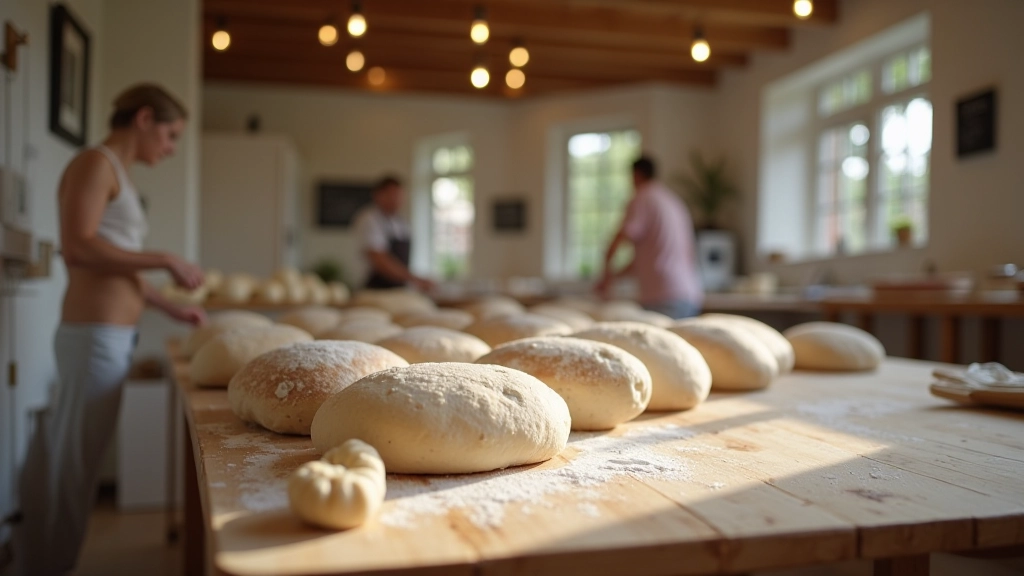
Overview of our weekend classes in Kenmare. What we cover, what you'll bake, and how to get the most from your time.
Read More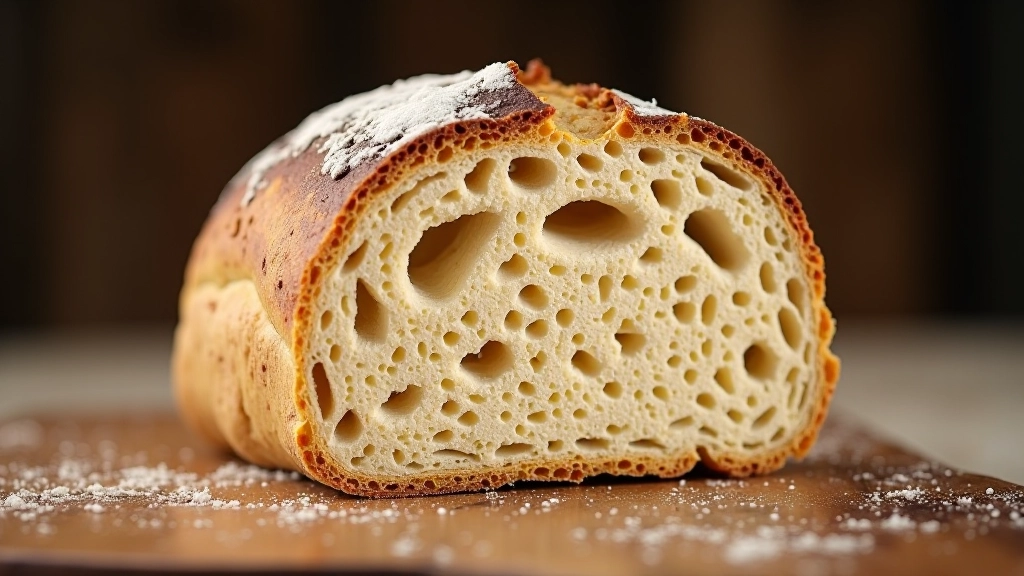
What causes common sourdough problems and how to adjust fermentation time, hydration, and technique for better results.
Read More